This post contains affiliate links which we are compensated for if a purchase is made. Using links costs you nothing and helps to support the ongoing creation of content. Thank you for using them.
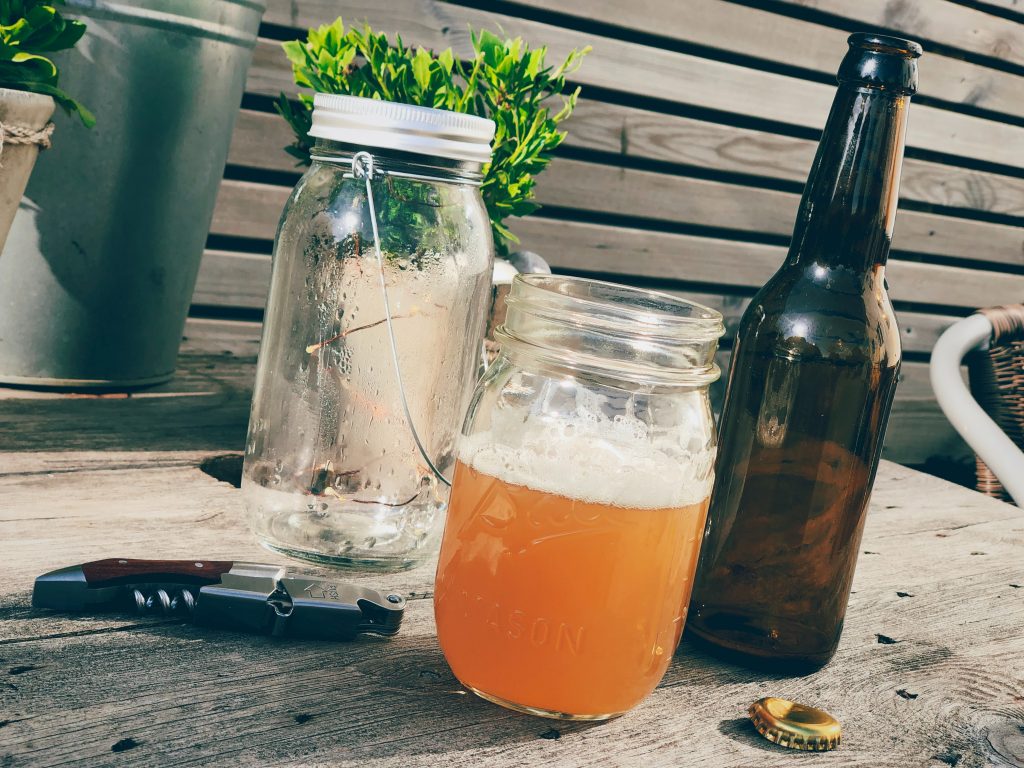
What Labels Can I Use On Homebrew? For most people that start making their own homebrew, they tend to start out using a sharpie to mark bottle caps. This is fine when you are drinking the beer at home but if you give the beer to someone else they would have no idea what the contents of the bottle were. Additionally, some homebrewers that have used their beer as Christmas presents have gone to the effort of making up special labels only to find that the labels either disintegrated, fell off the bottle or the ink smudged badly. So what labels can you use to label your beer?
When labeling your homebrew it is best to use a self-adhesive label that is made from vinyl or polyester rather than paper to avoid any chance of the label disintegrating. Additionally, the adhesive on the label needs to be suited to cold and damp conditions. Most of the adhesives used on general-purpose labels will not adhere well if conditions get too cold as the adhesive hardens reducing its tack.
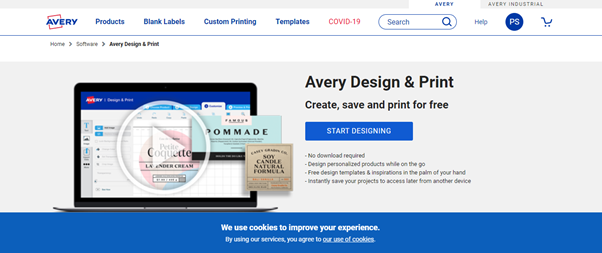
There are numerous suppliers of self-adhesive labels but I would highly recommend using Avery products over other suppliers of one simple reason, they offer templates that make it easy to accurately print on the correct position which ensures that you do not waste any of the labels trying to get the label in the correct position. Details on how to design and make-up labels are provided later in the article.
What Size Label Should I Use?
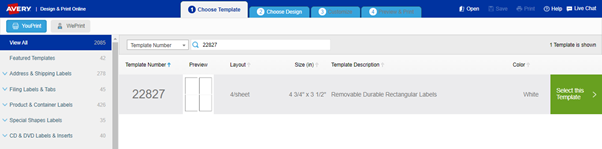
The suggested size of the label is dependent on the specific bottle, however, here is a rough guide of the size. The Avery product specifically designed for this purpose is 22827, to see the latest price on Amazon click here.
Stubby – 4 inches wide by 3.5 inches high
Heritage & Long Neck – 4 inches wide by 3.5 inches high.
Long Neck or Wine Bottle – 3.5 inches wide by 4 inches high.
What Type Of Printer Should You To Make Your Labels?
The type of printer you use will significantly affect the quality and durability of the print on your labels. Most commercially available inkjet printers use water-based ink that is not water-resistant and will smudge when wet. This means that if the beer bottle is placed in an ice bath or significant amounts of condensation form on the surface of the bottle the ink is likely to run.
To improve the longevity of the print on your labels in moist environments it is far better to use a laser printer. Laser printers, unlike inkjet printers, used powder-based inks (usually referred to as Toners) that are solid. The laser printers use heat to melt these powders on the surface of the paper forming the print. As the toners do not contain water-soluble components they able to resist the effects of being exposed to water.
If you don’t own a laser printer we would recommend HP LaserJet Pro M29w Wireless All-in-One Laser Printer basically because has most of the features you are likely to want for home use (ie scans and is wireless) and most importantly relatively low cost, click here to see the latest price on Amazon.
Designing And Creating A Stylish Label For Your HomeBrew
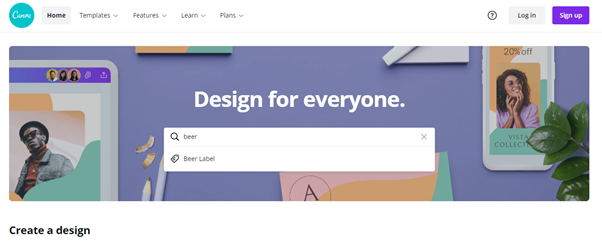
If you are going to go to all the effort of creating a label it should look stylish and professional. This is surprisingly easy to do using a couple of mostly free tools that are available on the internet. The first tool is Canva.com which is a site that helps create designs for a range of applications. These include graphics for youtube videos, logos, posters, Instagram posts, and labels.
The steps are as follows;
Step 1: Start off with your design search beer labels to access a series of designs
Step 2: Select a design template that you like for your beer by clicking one of the templates on the left of the screen, there are about 60 ones to chose from.
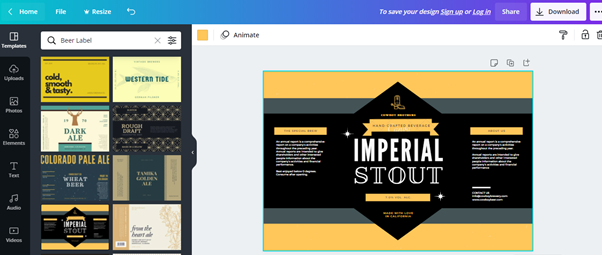
Step 3: Modify the test in the label to suit your requirements.
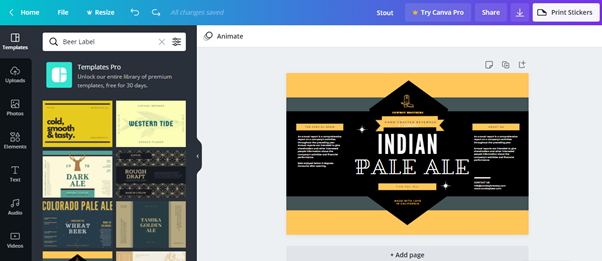
Step 4: Download the File. As these templates are part of Canva Pro they will contain a watermark in the design. If you want to remove it from the design there are a couple of options which are as follows;
- Download the file as is and accept that there is a watermark present
- Remove the watermark and take a screen shot of the design. Your will lose some image quality but it works well for simple label designs
- Sign-up for the free 30 day trial to get your label
- There is an option to pay $1 for the individual design
Step 5: Go to the design and print at Avery.com and click the start designing button
Step 6: Enter the template number and click Select this template
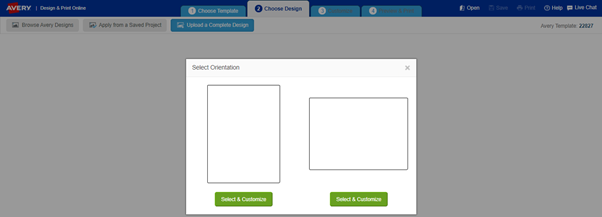
Step 7: Select “Upload a Complete Design”, select the label orientation and upload the design
Step 8: Adjust the label size to fit the template and selecting customize at the top of the page.
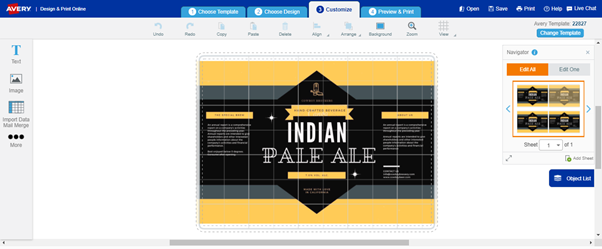
Step 9: Preview and print the design onto the labels