This post contains affiliate links which we are compensated for if a purchase is made. Using links costs you nothing and helps to support the ongoing creation of content. Thank you for using them.
How Long Does Homemade Ginger Beer Last? When you make a batch of ginger beer at home it is something that you only want to do occasionally as making a large batch often takes as long as making a small batch. So if you put it aside to drink later how long will it before it goes off?
Homemade Ginger Beer irrespective of whether it is alcoholic or non-alcoholic will last for at least a year and sometimes much longer if it is stored correctly. This assumes that the bottles, lids, and vessels used in the making of the beer have been sanitized adequately to prevent bacterial contamination and lids have formed an air-tight seal to prevent the introduction of contaminants during storage.
The recommended conditions for long-term storage of the ginger beer are in a dark cool location that has a relatively stable temperature that does not fall below freezing. If ginger beer freezes the water in the beer will expand causing the seal to rupture.
However, when the brew is first made it is necessary to store the bottles at room temperature for around 2 weeks or so as this will allow the yeast to remain active and convert the sugars into carbon dioxide carbonating the drink. At temperatures below 10°C to 15°C (50°F to 59°F) the yeast goes dormant which means the ginger beer will remain flat if it is immediately stored in the fridge or a cool location.
Fortunately, cool temperatures do not kill the yeast they simply make it go dormant so if your beer gets too cold it is not the end of the world as warming the beer up to room temperature is usually enough to reactivate the yeast.
The other common problem with ginger beer is over-carbonation which leads to the potential for exploding bottles. This occurs as a result of the use of poorly designed recipes that do not take into the production of carbon dioxide. Unfortunately, many of these recipes are the “traditional” ones, which is why it is common to hear stories about someone’s grandfather making exploding ginger beer bottles years ago.

How To Make Ginger Beer That Doesn’t Explode
The primary issue with many of the traditional recipes is that they add sugar and yeast together without allowing time for fermentation to occur and the carbon dioxide to be released. When the beverage is placed in the confined space of the bottle pressure builds up creating problems.
The obvious solution, at first glance, is to add sugar for flavor and no yeast if you are making a non-alcoholic version, however, if you want a carbonated drink the yeast is required. Additionally, if wild yeasts get into the brew fermentation without your knowledge can happen leading to disastrous consequences.
The way to control the sweetness of the ginger beer is to use non-fermenting sugar for flavor and fermentable sugar for the priming or carbonation of the drink. Lactose is the most common non-fermentable sugar that will sweeten the brew, lactose is available at your local homebrew store or on Amazon, click here to see the latest price.
What Equipment Is Required To Make Ginger Beer
The equipment required to make ginger beer is much the same as what is required to make beer. There are four pieces of equipment I would highly recommend purchasing;
- a fermenter
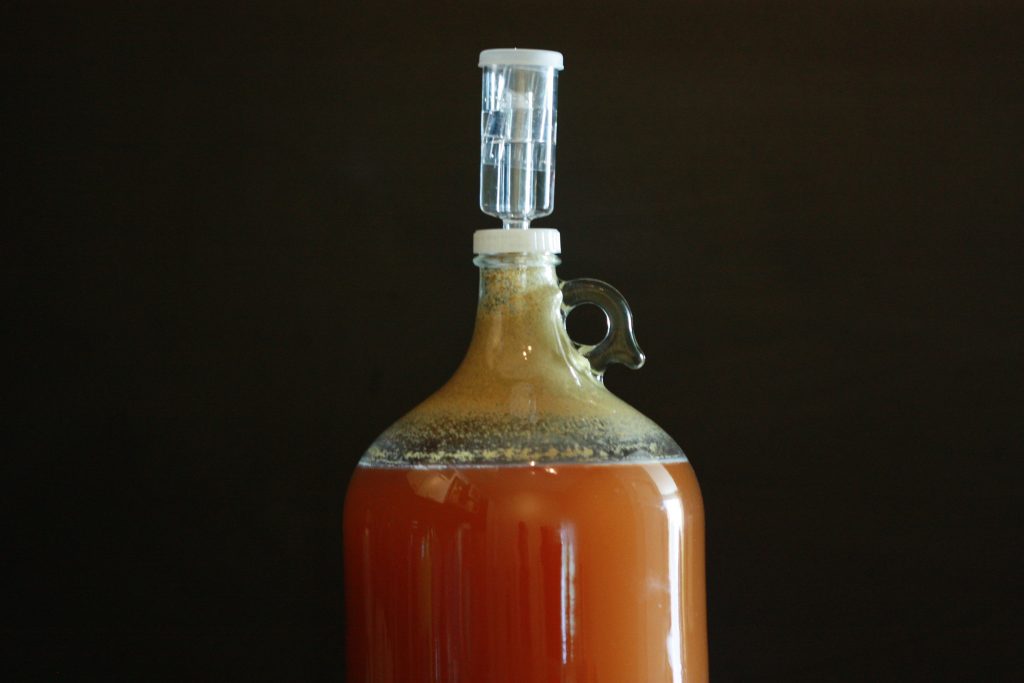
- airlock
- filling wand
- A capper
These items are relatively low-cost, make it much easier to make ginger beer, and will pay for themselves after the first batch. A full 5-gallon batch will make 60 to 65 330ml bottles of ginger beer.
Fermenter
The fermenter is the single most important piece of equipment that you will need if you want to make an alcoholic ginger beer that is both free from contamination and not likely to explode. It is not absolutely essential to make a non-alcoholic version of the ginger beer but it does make filling bottles a lot easier.
The cheapest basic model that has a tap at the bottom is available from Home Brew Ohio. Having a tap on the bottom is important because it allows the bottles to be filled directly from the fermenter without the need for a siphon or ladle. A picture of the fermenter is shown below, click here to see the latest price on Amazon.

Airlock
When fermenting your brew you will need an airlock that allows the gas to leave the fermenter while preventing bacteria from getting in. When in use the airlock is half-filled with water to prevent the bacteria from entering There are two main types, the S-type and a 3 piece airlock, S-type are slightly cheaper but 3 piece airlocks are easier to clean, however, there isn’t that much difference between the two, click the links to see the latest price on Amazon.
Filling Wand
The filling wand is a piece of equipment, that is not absolutely essential for filling bottles but it certainly makes filling the bottles a lot faster and easier as it provides a consistent and accurate fill level. Filling wands are basically tubes that have the open end connected to the fermenter tap and a pressure-activated seal that releases the beer into the bottle when the seal is pushed against the bottom of the bottle.
When the wand is removed from the bottle that is filled the level in the bottle goes down leaving the correct amount of headspace. There are basic types that are around 1ft long that connect directly to the tap or you can get ones that come with a tube which is better because you can leave the bottles in the carton and place the wand into the bottle one at a time. To compare the prices on Amazon of the basic model and the models with a tube click on the links. To read more about the differences between fillers click here.
Capper
Cappers are an extremely useful piece of equipment that is used by homebrewers to seal crown seal beer bottles. The capper allows you to store your ginger beer in glass bottles rather than plastic bottles. Glass bottles allow the ginger beer to be stored longer as plastic bottles are permeable to carbon dioxide, to learn more about this click here.
The cheapest capper available is the Red Baron, which is shown in the picture below. They are a dual handle type that works well but is not as fast as other cappers which are significantly more expensive. If you are just making the occasional batch the Red Baron is the one to go for, click here to see the latest price on Amazon.

How To Make Ginger Beer
The recipe below will make 5.2 gallons (20 litres) of ginger beer. This recipe will produce an alcoholic ginger beer that contains gluten, for notes on how to adjust the recipe to make either a non-alcoholic version click or gluten-free version see the notes at the end of the article.
INGREDIENTS
2.7 lbs (1.25 kg) of Grated Ginger
2.2 lbs (1 kg) Sugar
3.3 lbs (1.5 kg) of Malt Extract
1 Sachet Yeast
1 Pack Carbonation Drops
The less common ingredients can be found on Amazon however, it is important to note that ordinary baker’s yeast from the grocery store can be used instead of brewers’ yeast, to read about the difference click here. Additionally, Carbonation drops are a convenient way to carbonate the beer at the end of the process but you can substitute plain sugar, however, the amount to be added will depend upon the bottle size you use. The table below provides an indication of the quantity required, however, to learn more about carbonation drops vs sugar click here.
| Bottle Size | Grams/Ounces | Teaspoons* |
| 330 ml | 3.6 g/0.12 oz | 1/2 tsp |
| 500 ml | 5.4 g/0.19 oz | 1 1/2 tsp |
| 750 ml | 7.2 g/0.25 oz | 1 tsp |
The Brewing Method
- Before any type of brewing start by sanitizing the fermenter, this can be done using a specialized sanitizer or you can just use really hot water.
- Add the ginger and malt extract to a large pot and add a few quarts (litres) of water, the precise about is not critical.
- Bring the pot to a rolling boil for 10 to 20 minutes to extract the flavor from the ginger.
- At the end of the boil the sugar and ensure that it is fully dissolved.
- Cool the pot and transfer the ingredients to the fermenter.
- Fill the fermenter with water to make the volume up to 5 gallons. When you are making up the volume check the temperature of the beer, it should be ideally around 68°F (20°C) when the fermentation process starts.
- Sprinkle the yeast on the surface of the liquid and seal the fermenter and place the airlock into the hole in the lid. The airlock should be approximately half-filled with water.
- After about 24 hours you should see bubbling from the fermentor and the fermentation process will take between 1 to 2 weeks to complete. Once the bubbling stops leave the ferment for a few days before bottling.
- To bottle your brew start by sanitizing the bottles. Add 1 x carbonation drop per 330-370ml of volume in the bottle then fill the bottles. Note that you must leave headspace in the bottle for carbonation.
- Leave the bottles to stand for at least 2 weeks at room temperature, as this will allow the beer to carbonate.
Additional Notes
- To make a Non-Alcoholic version of this ginger beer, leave out the malt extract and sugar.
- To make a gluten-free version replace the malt extract additional sugar.
- You can also try adding cinnamon and lemon zest to the brew to add flavor.
- While most people drink ginger beer by itself, I would highly recommend mixing it 50/50 with orange juice for a particularly refreshing drink.
